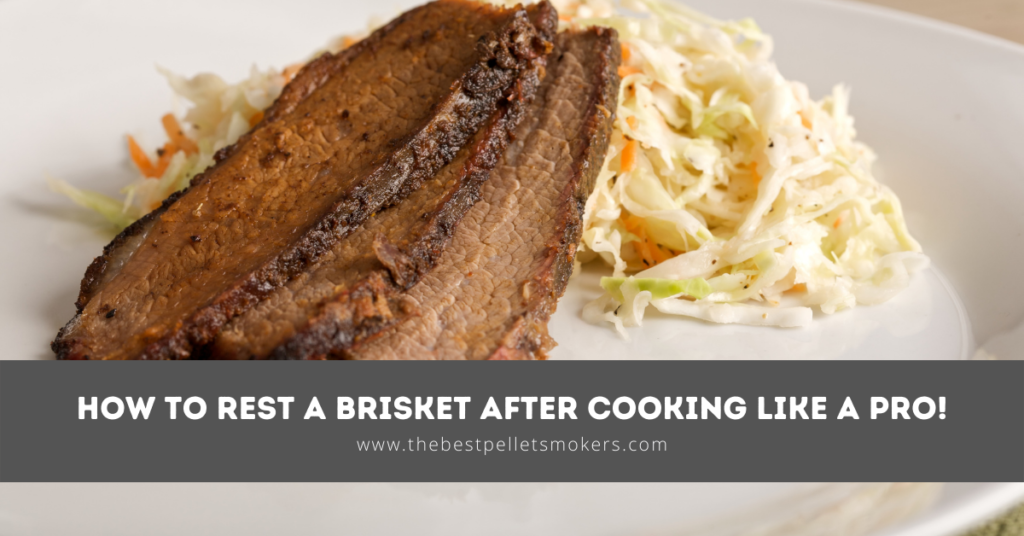
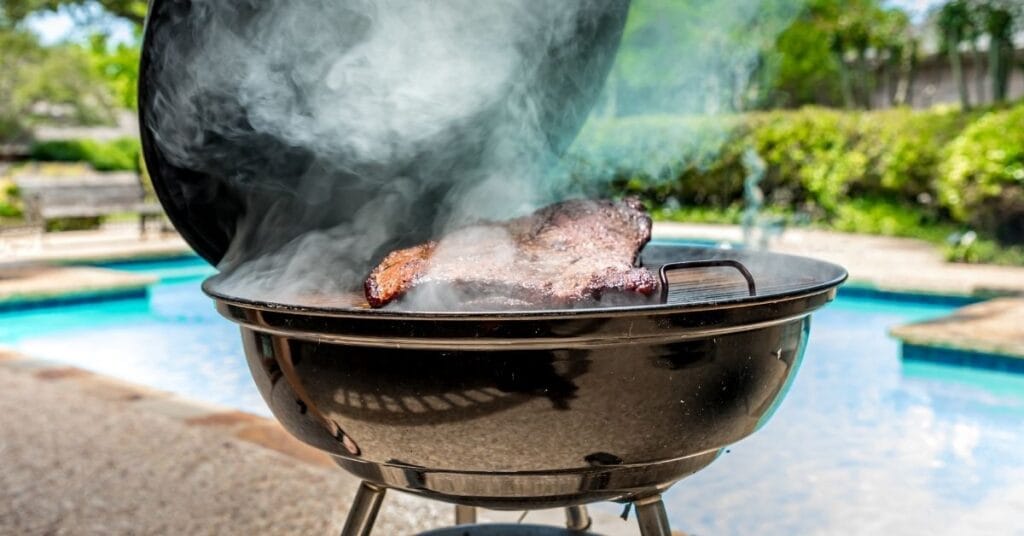
There is nothing like the taste of a delicious, tender brisket that has been cooked to perfection. However, if you have ever tried to cook a brisket yourself, you know that it can be a challenge. If you are not careful, your brisket can come out dry and tough.
In this blog post, we will teach you how to rest a brisket so that it comes out juicy and tender every time.
What Do We Mean When We Say Resting the Brisket?
When we say “resting the brisket,” we mean letting the meat rest for a period of time after it has been cooked. During this time, the juices will redistribute throughout the meat, making it more tender and juicy.
In this way, resting your brisket is similar to resting a steak. When you let a steak rest, the juices redistribute and the meat becomes more tender.
However, you should know that resting brisket is not only about temperature. In fact, there are three main factors to consider when resting your brisket: time, temperature, and humidity.
How To Rest A Brisket?

When you’re cooking a brisket, one of the most important steps is resting it properly. Here’s our guide to doing just that!
1. Take the brisket off the heat before resting it.
If you’re cooking your brisket on a grill, remove it to a cooler part of the grill or turn off the heat altogether. If you’re cooking in an oven or smoker, remove the brisket from a cutting board and tent it loosely with foil.
2. Let the meat rest for at least 45 minutes.
This gives the juices time to redistribute evenly throughout the meat, making it more tender and flavorful.
If you’re not ready to eat after 45 minutes, you can let the brisket rest for up to an hour.
Just be sure to keep it warm during this time by wrapping it in a clean towel or placing it on a wire rack set over a baking sheet in a low oven.
3. When you’re ready to eat, slice the brisket against the grain.
This will help ensure that each bite is tender and easy to chew. And there you have it! Perfect, juicy, and flavorful brisket, thanks to proper resting.
Now go forth and impress your friends and family with your mad cooking skills!
5 Reasons Why You Should Rest a Brisket Before Serving!
If you’re a barbecue lover, there’s a good chance you’ve heard of the importance of resting a brisket before serving. But why is it so important? In this section of the blog post, we’ll dive into the five main reasons why resting on a brisket is essential to creating the perfect meal.
1. Excellent Flavor
The first reason rests have to do with the overall flavor of your brisket. When you’re cooking a brisket, the meat fibers are working hard to break down and tenderize. This means that after it’s cooked, the juices inside the meat will be incredibly flavorful.
If you were to cut into the brisket right away, all those delicious juices would run out onto your cutting board. By allowing the brisket to rest, you’re giving all those flavors a chance to meld together and create an amazing dish.
2. Enhanced Texture
The second reason has to do with the texture of your meat. When you cook a brisket, the outer edges are going to be cooked much more than the center. This can lead to an unappetizing texture, with the outer edges being dry and tough.
By letting your brisket rest, you’re giving it a chance to redistribute all those juices evenly throughout the meat. This results in a perfectly cooked brisket that’s juicy and tender from edge to edge.
3. Safety Against Injuries
The third reason has to do with safety. When you cook a brisket, the outer edges are going to be much hotter than the center. If you were to cut into it right away, all those hot juices would run out and potentially cause a nasty burn.
By allowing your brisket to rest, you’re giving it time to cool down so that you can enjoy it without any risk of injury.
4. Catchy Presentation
The fourth reason is all about presentation. When you serve a brisket, you want it to look as amazing as it tastes. By letting the meat rest, you’re allowing all those juices to redistribute and create an evenly pink color throughout the meat.
This not only looks great, but it also tells your guests that you put a lot of care into making their meals.
5. What About Leftovers?
The fifth and final reason has to do with leftovers. If you’re lucky enough to have any brisket left over after your meal, it will be even better if you’ve allowed it to rest.
The flavors will have a chance to develop even further, and the texture will be even more tender. This means that your leftovers are going to be just as delicious as your original dish.
As you can see, there are plenty of reasons why resting on a brisket is so important. By taking the time to let your meat rest, you’re guaranteed to have an amazing meal that everyone will love. So next time you’re cooking a brisket, make sure to follow these simple steps and enjoy!
6 Tips for Making a Perfect Brisket!

Making delicious brisket is an art and one that takes time to master. In this section of the blog post, we’ll give you some tips on how to make the perfect brisket every time.
So without further ado, let’s get started!
#1. Choose The Right Brisket
Not all briskets are created equal. You’ll want to choose one that’s suited for smoking, as it will have a higher fat content. This may seem counterintuitive, but the fat will keep the brisket moist during the smoking process.
You can usually find briskets that are labeled as “packer’s cut” or “deckle off.” These are both good choices for smoking.
#2. Trim the Fat
This may seem like a no-brainer, but it’s essential to trim the fat off of your brisket before you begin cooking. The fat will only slow down the cooking process, and it’s not as flavorful as the meat itself.
To trim the fat simply cut off any large chunks of fat that you see on the surface of the meat. You can also trim any excess fat from the ends of the brisket.
#3. Season the Brisket
Seasoning your brisket is one of the most important steps in making a perfect brisket. You’ll want to use a generous amount of salt and pepper, as well as any other spices that you enjoy. We’ll share 3 amazing seasoning recipes for briskets at the end of this guide. Don’t forget to check them out!
#4. Smoke the Brisket
Smoking your brisket is the best way to achieve that perfect flavor and texture. There are a few things you’ll want to keep in mind when smoking your brisket:
- Make sure your smoker is heated to between 225 and 250 degrees F.
- Place the brisket on the smoker, fat side up.
- Smoke the brisket for about 12 hours, or until it reaches an internal temperature of 195 degrees F.
- Wrap the brisket in foil and allow it to rest for 45 minutes before slicing.
#5. Slice the brisket
Slicing your brisket may seem like a simple task, but there’s a right way and a wrong way to do it. You’ll want to slice the brisket against the grain, as this will make it easier to chew.
To slice the brisket, simply use a sharp knife to cut through the meat in long, even strokes. Be sure to go against the grain of the meat, or else your slices will be tough.
#6. Serving
Now that your brisket is sliced and ready to go, it’s time to serve it! We like to serve our brisket with a simple side of roasted potatoes. You can also add some grilled vegetables or a salad.
We hope you enjoyed these tips on making the perfect brisket. Happy cooking!
As Promised – 3 Seasoning Recipes for Brisket!

When it comes to beef brisket, there are many ways to season it. You can use a dry rub, sauce, or marinade. In this section of the blog post, I will show you three different seasoning recipes for brisket: a dry rub, sauce, and marinade.
Recipe 1: Dry Rub Recipe
This recipe is simple and easy to make. You will need:
- Kosher salt
- Black pepper
- Garlic powder
- Paprika
- Cumin
Instructions:
- In a bowl, mix together the salt, black pepper, garlic powder, paprika, and cumin.
- Apply the rub to all sides of the brisket.
- Place the brisket in the fridge and let it sit for at least an hour, up to overnight.
Recipe 2: Sauce Recipe
This recipe is a little more involved than the dry rub but well worth the effort. You will need:
- Ketchup
- Mustard
- Vinegar
- Brown sugar
- Chili powder
- Garlic powder
Instructions:
- In a saucepan, mix together the ketchup, mustard, vinegar, brown sugar, chili powder, and garlic powder.
- Cook over low heat until the sugar has dissolved.
- Apply the sauce to all sides of the brisket.
- Place the brisket in the fridge and let it sit for at least an hour, up to overnight.
Recipe 3: Marinade Recipe
This recipe is the most involved of the three but will result in a flavorful and tender brisket. You will need:
- Olive oil
- Rosemary
- Thyme
- Garlic cloves
Instructions:
- Start by mixing together the olive oil, rosemary, thyme, and garlic cloves in a ziplock bag.
- Then, add your brisket to the bag and massage it so that the marinade evenly coats the meat.
- Let it sit for at least four hours, or overnight if possible.
FAQs
What is the best way to rest a brisket?
There is no single answer to this question as the best way to rest a brisket will vary depending on the individual brisket and how it was cooked.
However, in general, it is recommended to let brisket rest for at least 45 minutes before slicing or serving. This will allow the meat to reabsorb its juices, resulting in a more tender and juicy brisket.
What are ways that can keep my brisket moist while cooking?
1. One way to keep your brisket moist is by using a mop sauce while cooking.
2. Another way to keep your brisket moist is by wrapping it in butcher paper or aluminum foil after the first hour of cooking.
3. Finally, you can also use a Texas crutch to keep your brisket moist after cooking. This involves wrapping the brisket in foil and then putting it in a cooler for a few hours.
Final Words
Resting a brisket is an important step in the smoking process. It allows the meat to relax and absorb the smoke and flavors from the smoker.
By following these simple steps, you can ensure that your brisket will be tender and juicy when it’s time to eat.